How to Practice Volleyball Alone Without a Wall?
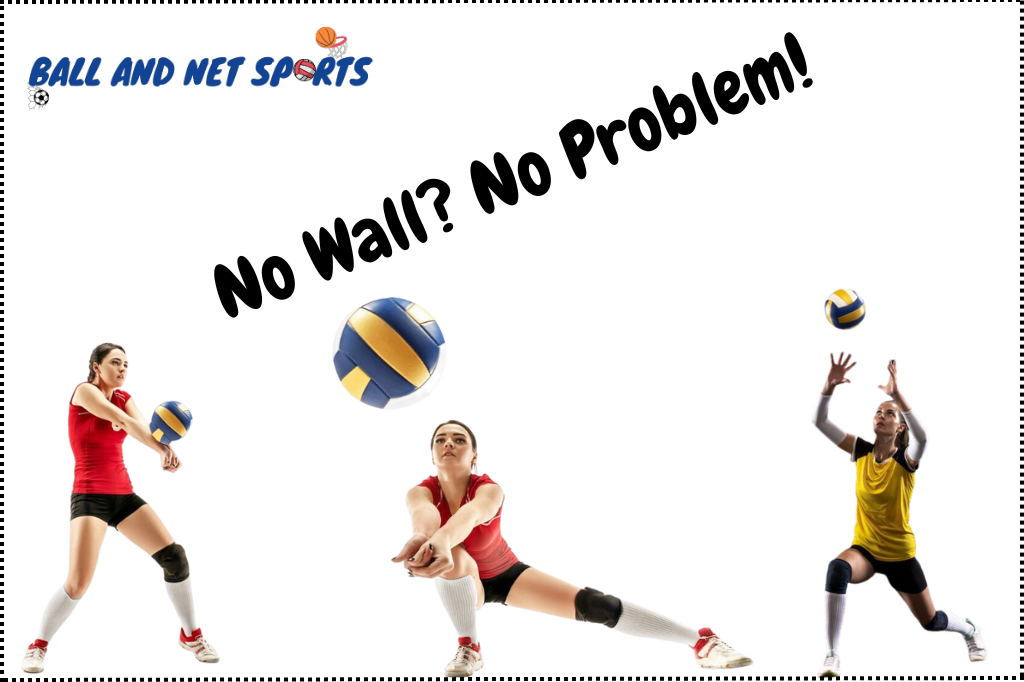
Most often, players rely on a wall in order to self-practice with volleyball. But practicing volleyball alone without a wall is as easy as doing it with a wall, if not more.
All you need is the proper practice techniques that you can do without a wall.
Here are the drills to work on if you are practicing volleyball without a wall.
Passing and Setting Practice
There are quite a few things you can do without a wall to master setting and passing.
Here is the step-by-step guide to do that:
Step 1: Toss and Pass:
- Stand tall, feet shoulder-width apart.
- Gently toss the ball into the air. Try to get the ball to reach the same height every time.
- As the ball descends, prepare for the pass.
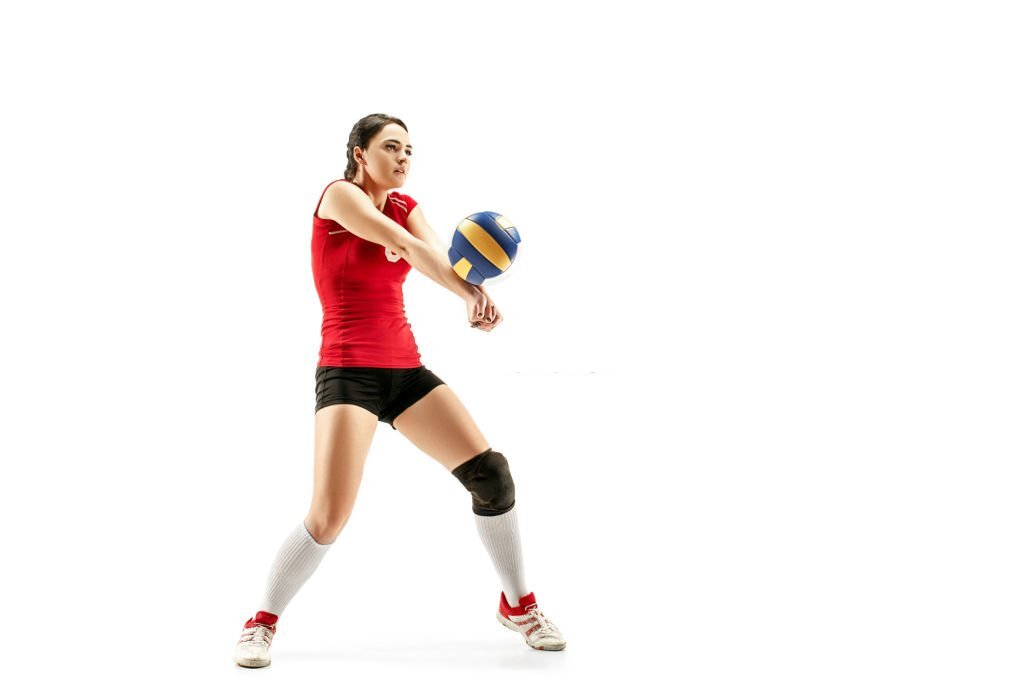
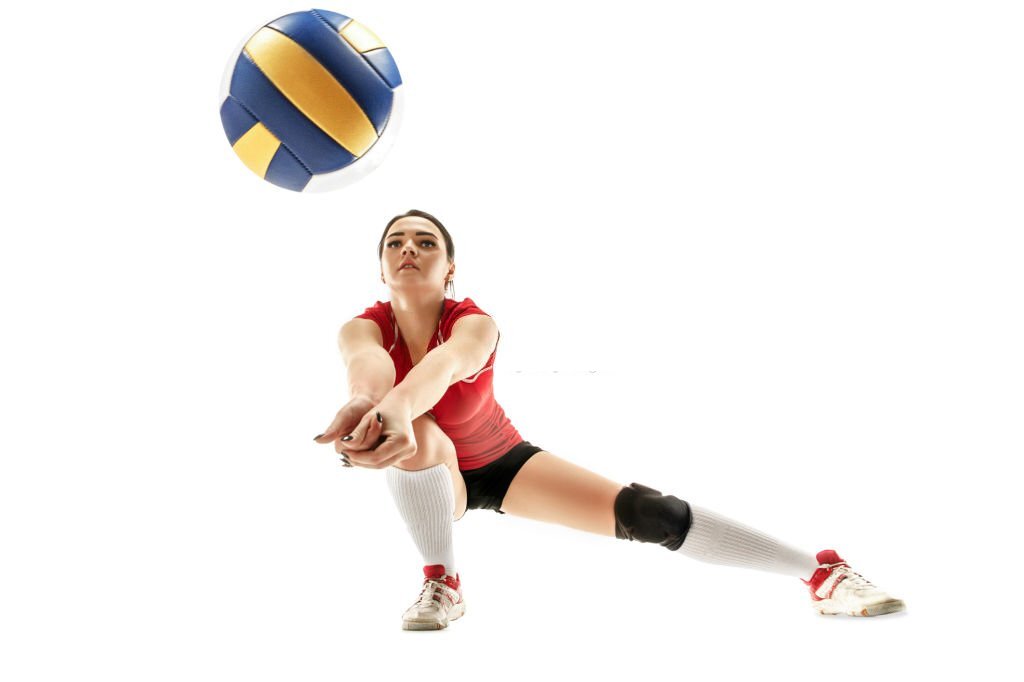
Step 2: Forearm Pass:
- The goal is a controlled return. With your feet set firmly, face the descending ball.
- Extend your arms and join your hands, creating a firm platform.
- Focus on your forearms. Your aim is to contact the ball with the flatter, meaty portion of your forearms, so make sure those elbows remain straight.
- As the ball makes contact, use the strength from your legs and core to direct it.
- Your arms guide the ball, but the real power is from your legs. Even small changes in arm angle can steer the ball differently.
Step 3: Overhead Pass (Setting):
Once you have tossed the ball up with a forearm pass, now wait for the ball to come down so you can initiate a set.
- This step links a pass to an attack.
- Position your hands in a triangle shape, placing them just above your forehead.
- As the ball comes down, instead of catching, use your fingertips to guide it.
- Apply pressure through the ball using your wrists and fingers. It’s all about control and direction, not rough force.
- Practice the push. Too much and the ball goes flying; too little and it barely moves. Strive for that perfect balance where the ball arcs gently.
This is the passing and setting practice that you can do hundreds of times without ever needing a wall.
Basic Arm Touches
This is a general volleyball drill that will help you in handling the ball better.
You do this, and you end up polishing your passing skill as well as getting your arms used to the volleyball.
The drill goes like the following:
- Toss the ball up with the help of your hand.
- When the ball comes down, you need to toss it up again with the help of your forearm (not the hand)
- When the ball comes down again, toss it up with the help of the other forearm.
- Do this drill with alternate arms each time the ball comes down.
Or,
You can also do this by joining both arms together and tossing the ball up with your arms again and again.
Practicing Serving Without a Wall
The serve is your first move in volleyball, and it sets the pace for the game. Nailing it every time can give you an upper hand from the start. And it can be perfectly practiced without needing a wall.
Let’s break it down step by step.
Step 1: Get into Position
- Stand with your feet shoulder-width apart.
- Relax your shoulders, and ensure your weight is balanced on both feet.
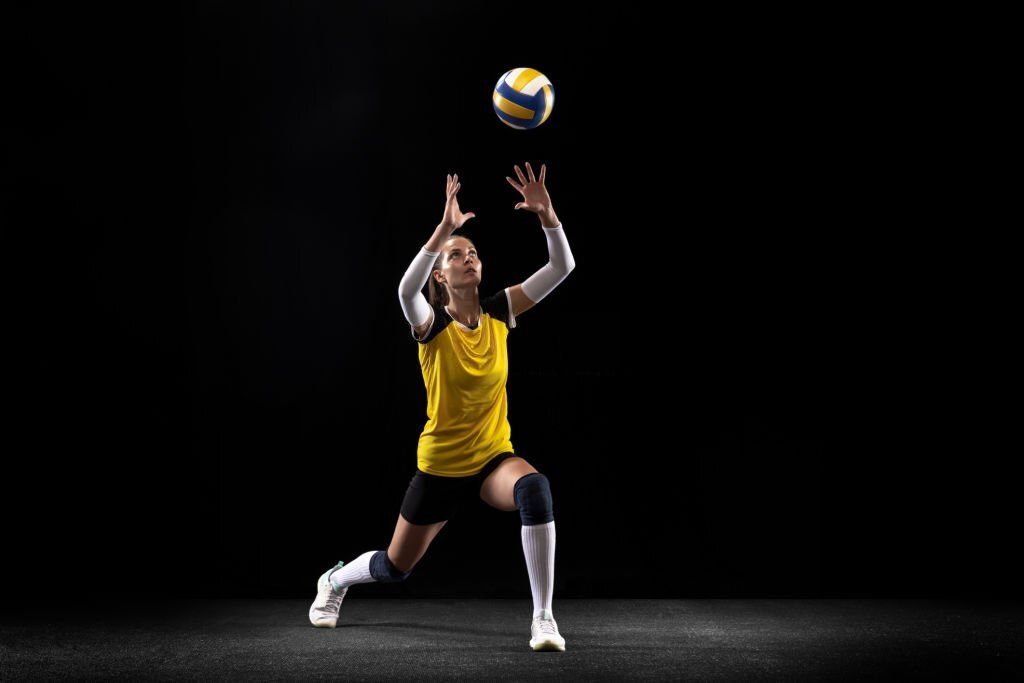
Step 2: Toss and Serve
- Hold the ball in your non-serving hand.
- Extend that arm in front of you at chest level.
- Gently toss the ball upward. The height of the toss should be just a bit higher than your reach.
- As the ball begins its descent, approach it with your serving hand.
- Using a combination of a wrist snap and your shoulder’s power, strike the ball.
- Practice this step multiple times. The right wrist and shoulder coordination can greatly increase your serve’s impact.
Step 3: Target Serving
- Scatter some cones or markers in different areas of your serving zone.
- With each serve, aim for a particular cone or marker.
- To begin, place the targets closer, then gradually space the targets further.
- Turn this practice into a fun challenge: count how many targets you hit out of ten attempts. As days pass, aim to beat your own records.
If you don’t have cones, you can even set a water bottle as a target and hit it with the serve to improve accuracy.
Practicing With a Volleyball Rebounder
No wall? No problem. The volleyball rebounder will help you all the way to master any volleyball skill. Here is what to do with a rebounder.
Step 1: Setting Up the Rebounder
- Find a clear space.
- Assemble the rebounder as per the manufacturer’s instructions.
- Ensure it’s stable on the ground before starting any drills.
Step 2: Starting with Basic Drills
Passing Drill:
- Stand a few feet away from the rebounder.
- Toss the ball onto the rebounder.
- As the ball bounces back, get into position for a forearm pass.
- Aim to pass the ball back onto the rebounder, adjusting your force to ensure the ball returns to you.
Setting Drill
- Stand a bit farther than for passing.
- Toss the ball up, and as it comes down, use your fingertips to set it onto the rebounder.
- As the ball returns, get ready and set it back again.
Spiking Drill (for those looking for a bit more challenge):
- Take a few steps back to give yourself room for a run-up.
- Toss the ball into the air, approach it, and spike it onto the rebounder.
- The ball will come back at a faster pace. Prepare to either control it with a pass or go for another spike.
Enhancing Movement and Approach
Mastering volleyball isn’t just about what you do with your hands; it’s also about how you move your feet.
And fortunately, you don’t need any wall to master this skill alone.
Step 1: Approach and Jump
A successful spike is often the result of a powerful approach.
- Find Your Rhythm: Start with a three-step or four-step approach.
- Three-Step Approach: Left foot, right foot, then both (for right-handers). Reverse for left-handers.
- Four-Step Approach: Start with your non-dominant foot. For right-handers, it’s Right, left, right, left.
- Plant and propel: As you get close to where you want to jump, plant your feet. Use both feet to push off and propel yourself upwards. Swing both arms upward to gain momentum, and try spiking with your natural arm.
- Practice: Repeatedly practice your chosen approach until the foot movement seems natural to you.
This is the practice to do without a ball. But you can have another person setting the ball in the air, and you practice approach and jumping.
Step 2: Vertical Jump Training
Spikes become all the more intimidating when you’re soaring high. Interestingly, you do not need a wall to make your vertical jump higher. All you need is to do some drills that can easily be done without a wall. For example:
- Warm-Up: A short jog or some jumping jacks for 5-10 minutes will prepare your body.
- Jump Squats: Begin in a squat position. Jump up, extend your arms overhead, and return to a squat.
- Plyometric Push-Ups: Start in a plank position. Lower down into a push-up, then push yourself off the ground with enough force that your hands leave the floor.
- Box Jumps: Use a stable platform or plyo box. Stand in front of it, jump onto it with both feet, then jump back down.
- Cool Down: Finish with stretches, focusing on your legs and back.
Establishing Ball Control without a Wall:
Getting the perfect control of the volleyball is a dream of every player. And practicing ball control without a wall is simple.
Self-Toss and Spike
Step 1: Find Your Stance
- Stand with feet shoulder-width apart, knees slightly bent, ready to move.
Step 2: The Self-Toss
- Hold the ball with both hands in front of you.
- Toss it upwards, aiming to get a consistent height each time.
Step 3: The Approach
- As the ball starts descending, approach it as you’ve practiced in your movement drills.
Step 4: The Spike
- Swing your arm back, then forward, aiming to contact the ball with the heel of your hand.
- Focus on your hand’s follow-through to direct the ball’s path.
Pepper (Self)
Step 1: Start with a Pass
- Use a forearm pass to send the ball upwards.
Step 2: Set It Up
- As the ball comes down, use your fingertips to set the ball upwards, preparing for the next hit.
Step 3: Go for a Gentle Spike
- Approach the ball, but instead of a full-force spike, aim for a controlled hit that allows you to continue the drill.
Step 4: Repeat
- After the controlled spike, get ready to pass again and keep the sequence going. The aim is to maintain a continuous rhythm of pass, set, and spike.
Try not to let the ball fall down, and keep it in the air for a long time.
Defensive Mastery
Another important aspect of a volleyball game that can easily be practiced alone without a wall is defense.
What makes a great defensive specialist is the ability to defend the ball at the toughest of times.
This is only possible if you put in enough time to master these skills, which can be done using the following strategy.
Mastering the Shuffle
- Setup: Stand with feet shoulder-width apart, knees slightly bent.
- Move: Shift sideways without crossing your feet and keep facing forward.
- Repeat: Glide side-to-side multiple times. Stay quick and light on your feet.
The following three volleyball practice drill requires you to have at least one more person with you who will throw the ball at you.
Dive into Digging
Here is how it goes
- Setup: Ready stance – feet apart, knees bent, and arms forward.
- Action: The person standing in front of you will throw the ball toward you in a downward trajectory. When the ball is low and near, dive forward. As you do, extend one leg behind you and use your arms to guide the ball up.
- Recovery: Quickly get back to your feet and be ready for the next play.
Perfecting the Pancake Drill
- Setup: Begin in the ready stance.
- Move: As the ball comes close to the floor, slide your hand, palm down, under it. The goal is to let the ball bounce off the back of your hand before it hits the ground.
Deep Squats with Arm Swing
- Position: Stand with feet hip-width apart.
- Action: Begin a deep squat, keeping your back straight.
- Sync with Arms: As you lower, prepare your arms back. As you rise, swing your arms upward with force. This mimics the powerful movement required for a strong hit or serve.
Agility and Movement Drills
Speed and agility often make the difference in tight games. This drill is not directly related to volleyball, but it will help you greatly in becoming a better volleyball player.
In volleyball, swift feet and quick changes in direction can give you a cutting edge.
Ladder Drills
- Set Up: Lay a training ladder flat on the ground. If you don’t have one, you can use tape or chalk to draw ladder-like rectangles on the ground.
- Single Foot In Each Box: Begin at one end of the ladder. Step into each box with one foot, then the other, moving as quickly as you can. Your aim is speed, so push yourself!
- Sideways Shuffle: Face the side of the ladder. Step sideways into each box, first with the lead foot, then follow with the trailing foot. Move down the ladder one box at a time.
- In-and-Outs: Start by standing sideways on the ladder. Step into the first box with your lead foot, followed by the other. Step out with the lead foot on the other side, followed by the trailing foot.
Final Words
Practicing volleyball without a wall is always possible as long as you are ready to put in the hard work. While you do that, it is also important to focus on some beginner-friendly drills that will keep you stick to the court for long. Not to mention that fun volleyball drills are also a great way to keep you hooked towards this amazing game.

Ahmed is the founder of Ball and Net Sports, a platform where he writes about volleyball.
As a professional volleyball player who has participated in various national and international level volleyball competitions, he loves to teach other volleyball enthusiasts about the game.
He is now a professional volleyball coach who organizes volleyball camps and social events for talent hunting for top volleyball teams.
As a volleyball talent-hunting specialist, he loves to teach people how they can make their game better in the fast-paced volleyball environment where it is extremely difficult to get quality content free of cost.